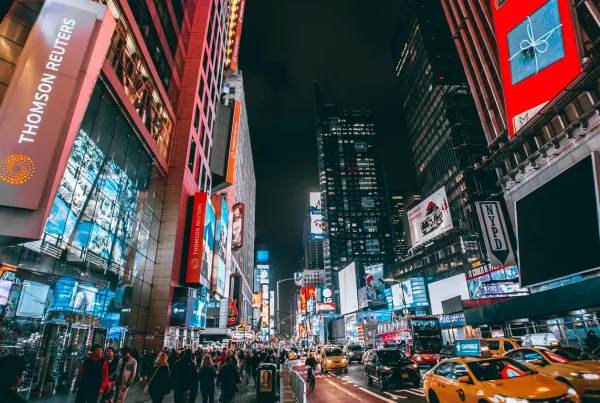
An amazing LED display is incredible for advertising or for entertainment. The combination of vibrant colors and attractive video captures attention immediately. How can you make the biggest impression on your audience? Choose the right LED display mounting option and ensure the system is installed expertly.
Countless Options for LED Display Mounting
There are many different display options available, and many of them offer advantages in specific applications. Here are some of the signage solutions possible:
Wall Mount
This is one of the most versatile setups for commercial messaging and entertainment. It’s possible to accommodate small to very large LED displays for indoor and partially outdoor applications. The display is installed within an anchored frame. The only downside to this option is that maintenance can sometimes require complete frame disassembly for access.
Hanging Display
This option is popular for rental. It consists of a hanging beam attached to large pillars. The cabinets are suspended from the top beam with a lower beam underneath. Vertical and horizontal layouts are possible for cabinets. The weight stresses generated make it recommended to keep display size under 6×10 meters.
Column
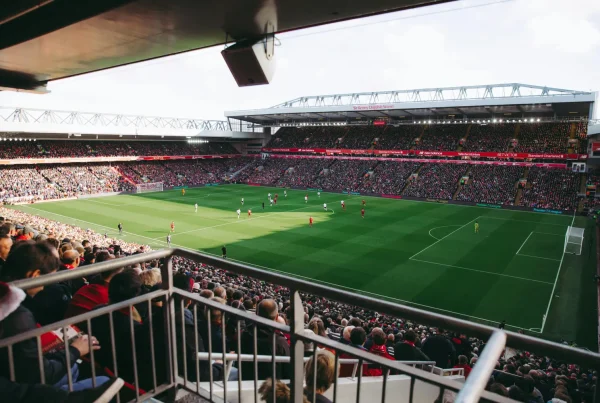
A popular solution for outdoor advertising, column LED display mounting places a large screen atop one or more metal columns. This option is frequently used for highway advertising, business lettering and stadium events. Small screens can work well with a single column, while larger LED systems ideally utilize two columns.
Roof Mount
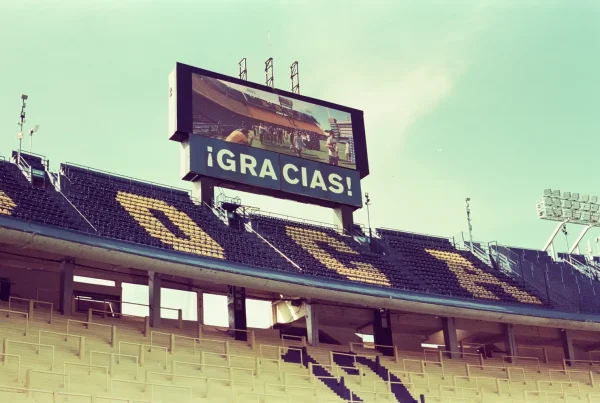
When businesses lack the available outdoor space to install a column-type display, roof installation is another option with excellent visibility. These imposing screens can attract passerby in malls and open shopping areas, for example. The installation materials must be very strong to provide adequate wind resistance.
Embedded
Luxurious and impressive, embedded designs require additional expense at the outset but provide an attention-grabbing appearance that is hard to beat. They add a professional ambiance to building lobbies and restaurant backdrops. Simple cabinet designs work well here with smaller LED screens.
Curved Display
Impossible to ignore and offering a novel design, curved displays require additional planning and longer LED screens than normal. It’s possible to form a complete circle using approximately 92 modules. Customized racks are essential so both screen and support match perfectly.
Simplified LED Display Installing Instructions for Fixed Applications
Fixed LED displays require a compartment structure with a variety of connectors. These include Z-type board connectors and flat board connectors of varying dimensions. The Z-type connectors attach to the sides, with smaller flat connectors (generally 110x55mm) for the bottom edges and square connectors (110x110mm) for center sections. Follow these installation recommendations:
1. Create the Base Structure
Start by assembling the first parts of the steel structure that will hold the permanent LED displays. After putting together the bottom portion, proceed with the installation of the first row of cabinets. Then continue upward, building the structure with each corresponding row.
Pro tip: When putting together the rows of the support structure, put in all of the screws and tighten enough for them to remain in place. Do not tighten them completely, however, because you still need to ensure correct leveling. Attempting to square the structure with screws that are fully tightened can damage or weaken its overall strength.
2. Make the First Row Level
Before proceeding to the second row, make sure the first row of cabinets is perfectly level, then tighten the screws. Follow this routine with each row. A level foundation is important because each successive row will show increasingly large gaps otherwise.
3. Check the Finished Structure
Before beginning to connect cables, ensure the structure is to spec by measuring the gaps between cabinets. It’s easier to correct structural issues before connecting power than afterward.
4. Connect the Signal Cables and Power Cables
You need several different cables for this step. Make sure you have short and long signal cables, short power supply cables (2.5 sq. mm wire with three pins) and long power supply cables.
- Short signal cables: Short cables interconnect the receiving cards from different cabinets.
- Long signal cables: These extended signal cables connect the LED to the control system.
- Short power supply: These connect power terminals to each cabinet.
- Long power supply: The longer cables run between the LED display and the electric control center.
5. Prepare the Mainframe Computer and Connect the Net Cable
The controlling computer needs a DVI card and a sending card. The DVI cable goes between the sending card and the PC hardware. A USB connects the motherboard to the sending card. Then, attach the long signal cable from the LED display to the computer. As the last step, connect net cables to controllers.
Expert Installation
A high-quality LED display is a fantastic tool that is quickly becoming essential for every business. Protect your investment by speaking with a professional about your specific needs. Our team can help you choose the right LED display mounting option, and we take care of installation with precision and care. To learn more, contact us right away.